Business Centralから自動フローを使ってTeamsへの通知機能ができるようになってます。新しいPower Automate flowのテンプレートが追加されました。
この例では、Sales InvoiceがPostされたらTeamsへ自動で投稿します。
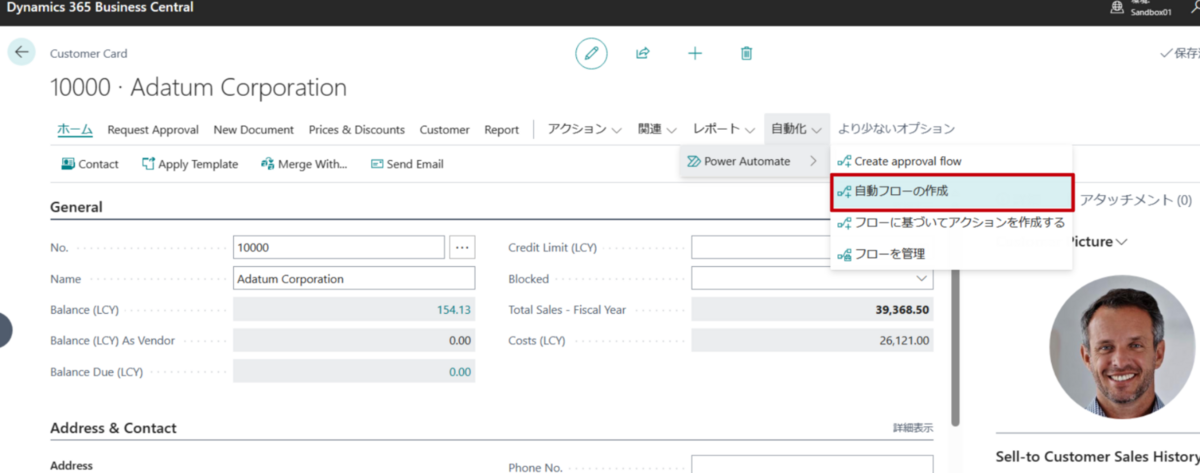
1)自動フローの作成を選択
Customerカードを開いて、自動化→Power Automate→自動フローの作成をクリックします。
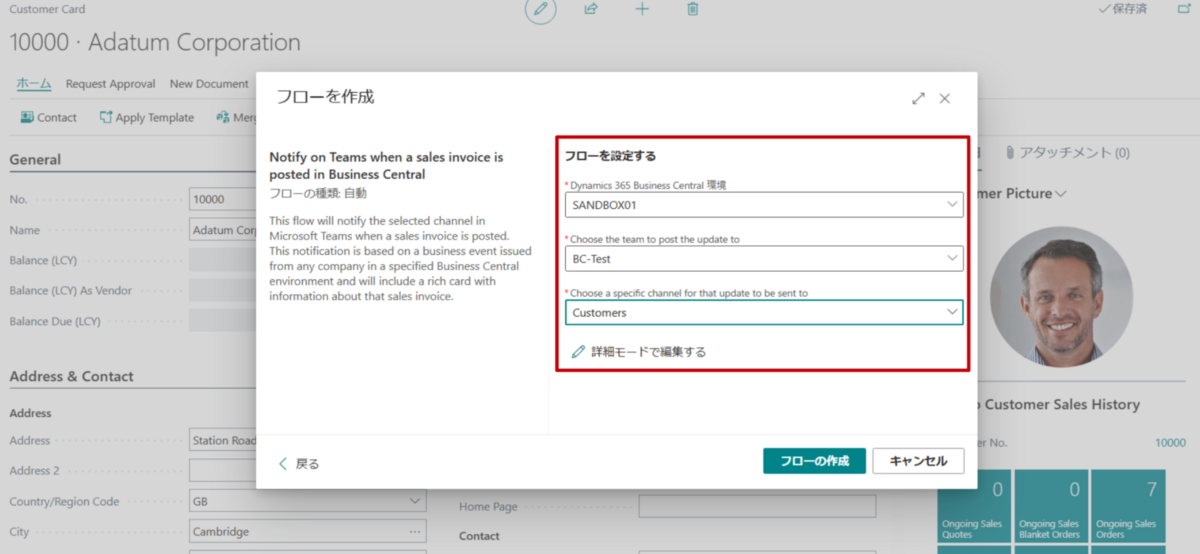
2)フローを作成
「Notify on Teams when a sales invoice is posted in Business Central(Business CentralでSales InvoiceをPostしたときにTeamsに通知を送る)」を選択しクリックします。

Business Centralの環境情報と投稿するTeamsの情報(チームとチャンネル)を入力し、「フローの作成」をクリックすると、Power Automate flowが作成され完了です。
Power Automate側で自動で作成されたフローはこんな感じです。

それではSales Orderを作成して、Postして確認してみましょう。
Sales OrderをPostすると、Teamsにアダプティブカードが投稿されました。

他のユーザーでも確認します。まず、Business Centralライセンスを付与されているユーザー(Aliciaさん)の場合、Teamsで確認ができます。また、Detailsをクリックすると、TeamsからBusiness CentralのPosted Sales Invoiceを表示して内容の確認ができます。

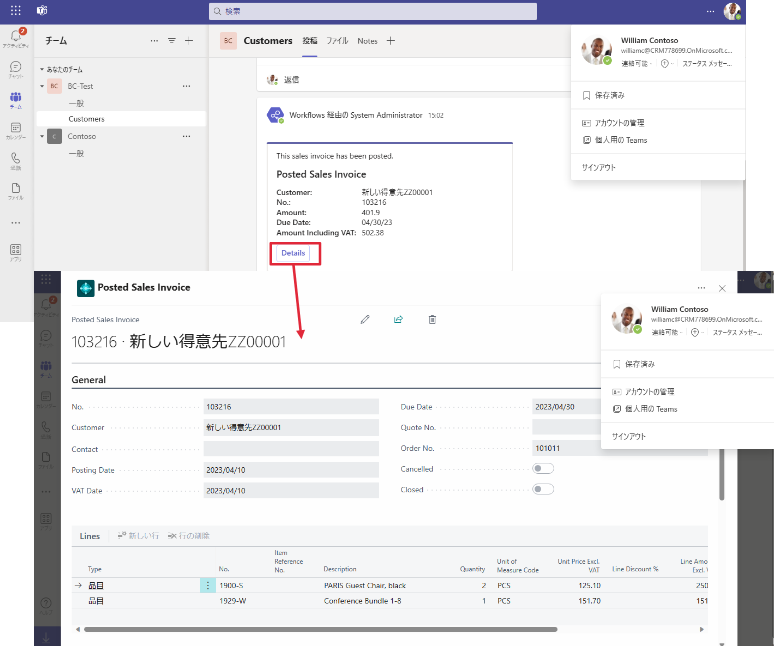
同様に、Microsoft 365のみライセンスユーザー(Williamさん)の場合はどうでしょうか。Teamsのアダプティブカードの確認ができ、Detailsをクリックすると、Posted Sales Invoiceの内容の確認ができました。
今回、「Business CentralでSales InvoiceをPostしたときにTeamsに通知を送る」というPower Automateのフローを実行しました。Sales側ではなく、仕入側であるPurchase InvoiceまたはPurchase Receiptの処理を行ったときに、Teamsへ通知を送るようにすると、仕入品の受領を社内に通知するのに利用できます。メールのほうが良ければ、Teamsの後にメール送信を追加してもよいかもしれないですね。

